Cart
0
When you decide to Make a Rustic Oak Coffee Table, you embark on a journey that combines creativity, craftsmanship, and functionality. A rustic oak coffee table is not just a piece of furniture; it’s a statement that can enhance the warmth of your living space. Make a Rustic Oak Coffee Table involves selecting the right materials, mastering woodworking techniques, and applying thoughtful design choices. If you’re looking for a beautiful centerpiece for your living room, this guide will help you learn how to Make a Rustic Oak Coffee Table while ensuring it fits your style and needs.
A rustic oak coffee table is a charming piece of furniture that brings warmth and a natural feel to your home. These tables often have rough-hewn surfaces and organic shapes, making them stand out. Made from high-quality oak wood, they not only look great but are also built to last. Whether you have a farmhouse style or a modern minimalist decor, a rustic oak coffee table can be the perfect centerpiece for your living room.
When you decide to Make a Rustic Oak Coffee Table, using oak wood is a fantastic choice because it’s strong, beautiful, and incredibly versatile. It’s known for its durability, which means it can withstand the wear and tear of everyday life. The natural grain patterns in oak add character, and it takes stains beautifully, giving you plenty of options for finishes. Plus, oak is eco-friendly since it’s a renewable resource that can be sustainably sourced.
Materials Needed for Making a Rustic Oak Coffee Table
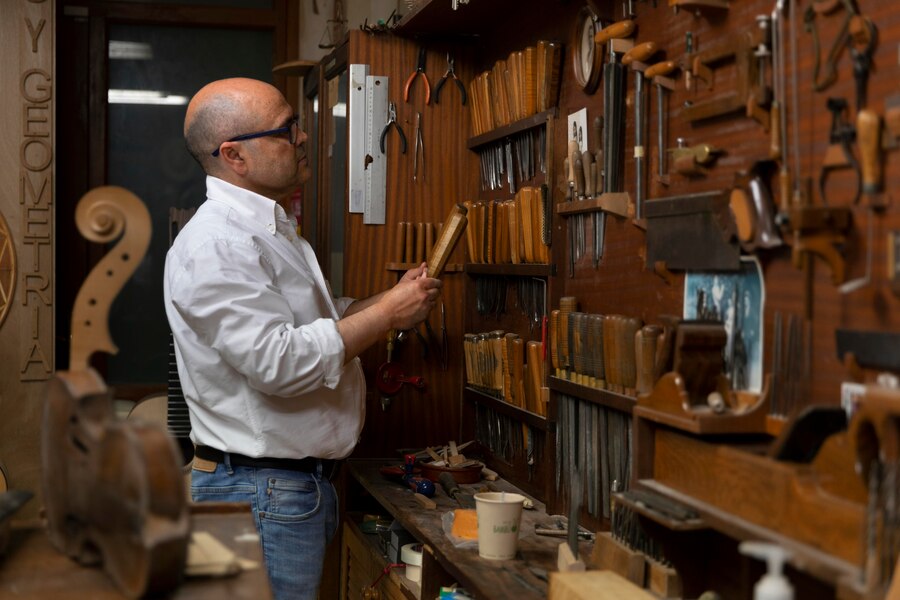
Before Make a Rustic Oak Coffee Table, gather the necessary tools. Here’s what you’ll need:
• Circular saw or table saw
• Miter saw
• Jigsaw
• Drill and drill bits
• Sander (orbital or belt sander)
• Wood clamps
• Measuring tape
• Square
• Wood glue
• Safety goggles and ear protection
Types of Oak Wood Suitable for Coffee Tables
When picking out oak wood for your coffee table, you might choose between red oak and white oak. Red oak is a bit softer and has a warmer color, while white oak is denser, water-resistant, and has a subtler hue. Both types are durable and visually appealing, making them great options for your rustic coffee table.
Step-by-Step Guide to Making a Rustic Oak Coffee Table
Preparing the Wood: Cutting and Sanding
Begin by carefully measuring and cutting your oak wood to your desired coffee table dimensions. Consider the desired size and style of your tabletop and legs. A larger tabletop might require sturdier legs for support. Accurate measurements are crucial for a well-proportioned and stable table. Use a sharp saw, such as a circular saw or miter saw, for clean, precise cuts. After cutting, meticulously sand all surfaces of the oak wood. Start with a coarser grit sandpaper (e.g., 80-grit) to remove any major imperfections and gradually progress to finer grits (e.g., 120-grit, then 220-grit) to achieve a smooth, even surface. Proper sanding is essential for a flawless finish and prevents splinters. Pay close attention to the edges and corners, ensuring they are smooth and rounded to avoid sharp edges. Consider using a sanding block for consistent pressure and a smoother finish. Remove all sanding dust with a tack cloth before proceeding to the next step.
Joinery Techniques: How to Assemble the Table
Several joinery techniques can be employed to assemble your coffee table, each offering varying levels of strength and aesthetic appeal.
• Pocket Hole Joinery: This method is relatively simple and requires specialized jigs and screws. It’s a strong and reliable technique, especially suitable for beginners. Drill pocket holes on the edges of the table legs and tabletop pieces, then secure them with wood screws.
• Mortise and Tenon Joints: This traditional joinery method creates a stronger and more visually appealing joint, ideal for a more rustic look. It requires more precision and skill, involving cutting mortises (holes) in one piece and tenons (projections) in the other to interlock. Glue and clamps are essential for securing the joints.
• Dowel Joints: Dowel joints offer a balance between strength and ease of construction. Holes are drilled into both mating parts, and dowels are inserted into the holes, providing alignment and strength. Wood glue secures the joint.
Regardless of the chosen joinery technique, apply a liberal amount of wood glue to all joints for increased strength and durability. Use clamps to firmly hold the pieces in place while the glue dries completely, usually for at least 24 hours. Ensure the table is square and properly aligned during clamping to prevent warping or misalignment.
Finishing Touches for Your Rustic Oak Coffee Table
Once the glue has dried and the table is fully assembled, you can apply the final finishing touches. Selecting the right finish is important to enhance the beauty of the oak and protect it from damage.
• Wood Stain: A natural wood stain will enhance the natural grain patterns of the oak while adding depth and color. Test the stain on a scrap piece of oak to determine the desired color and ensure you achieve your preferred sheen level. Apply the stain according to the manufacturer’s instructions, usually using a brush, rag, or spray bottle.
• Sealer: After the stain has dried, apply a protective sealer to protect the wood from water damage, scratches, and everyday wear. A polyurethane sealant is a popular choice, offering a durable and water-resistant finish. Choose a finish (satin, semi-gloss, or high-gloss) according to your preferred look and level of sheen. Multiple coats may be necessary for better protection.
• Optional Topcoat: Consider adding a topcoat for additional protection, particularly if the table will be subjected to frequent use. This final layer will add extra durability and help maintain the finish’s beauty over time.
Remember to allow sufficient drying time between each coat of stain, sealer, and topcoat. Follow the manufacturer’s recommendations for drying times to ensure the finish cures properly. Before applying any finish to your entire project, always test it on a scrap piece of oak wood first. This allows you to see the color and sheen before committing to the final application.
Common Mistakes to Avoid When Making a Rustic Oak Coffee Table
One frequent mistake is not ensuring that the table is stable. Make sure the legs are all the same length and are securely attached. Many beginner woodworkers overlook the importance of accurate measuring, so always double-check your measurements before cutting.

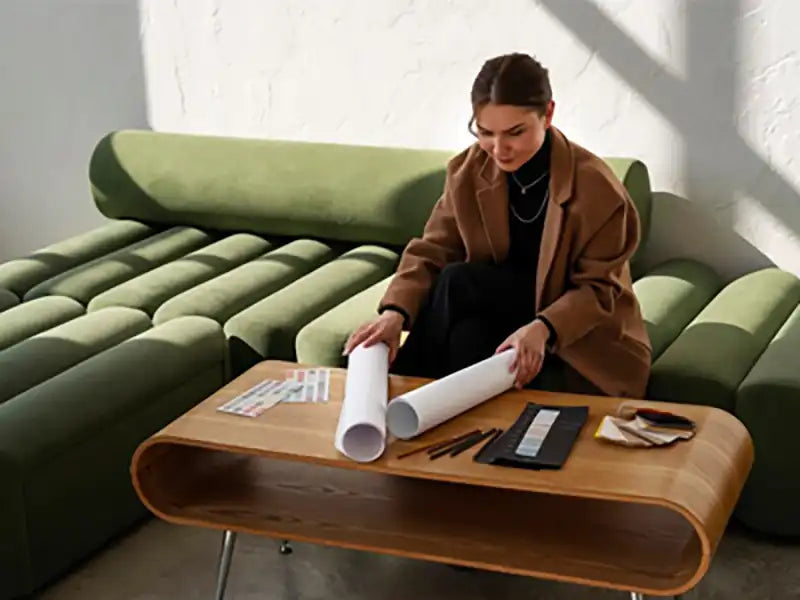
Customizing Your Rustic Oak Coffee Table
Customization can really make your coffee table one-of-a-kind. Think about adding features like a lower shelf for books or decorative baskets, or incorporating a live edge for a more natural look.
Caring for Your Rustic Oak Coffee Table
To keep your rustic oak coffee table looking great, keep it out of direct sunlight to prevent fading. Regularly apply a wood conditioner or oil to nourish the wood and enhance its shine.
Inspiration: Rustic Oak Coffee Table Designs
Some popular styles include farmhouse tables with simple lines, live edge tables, and industrial-style tables. Make a Rustic Oak Coffee Table can fit right into your home decor, creating a cozy atmosphere.
Conclusion: Enjoying Your Handmade Rustic Oak Coffee Table
Make a Rustic Oak Coffee Table can be a fulfilling project that adds character to your living space. Not only will you have a functional piece of furniture, but you’ll also have a unique creation that showcases your craftsmanship. For more inspiration and resources on woodworking, visit